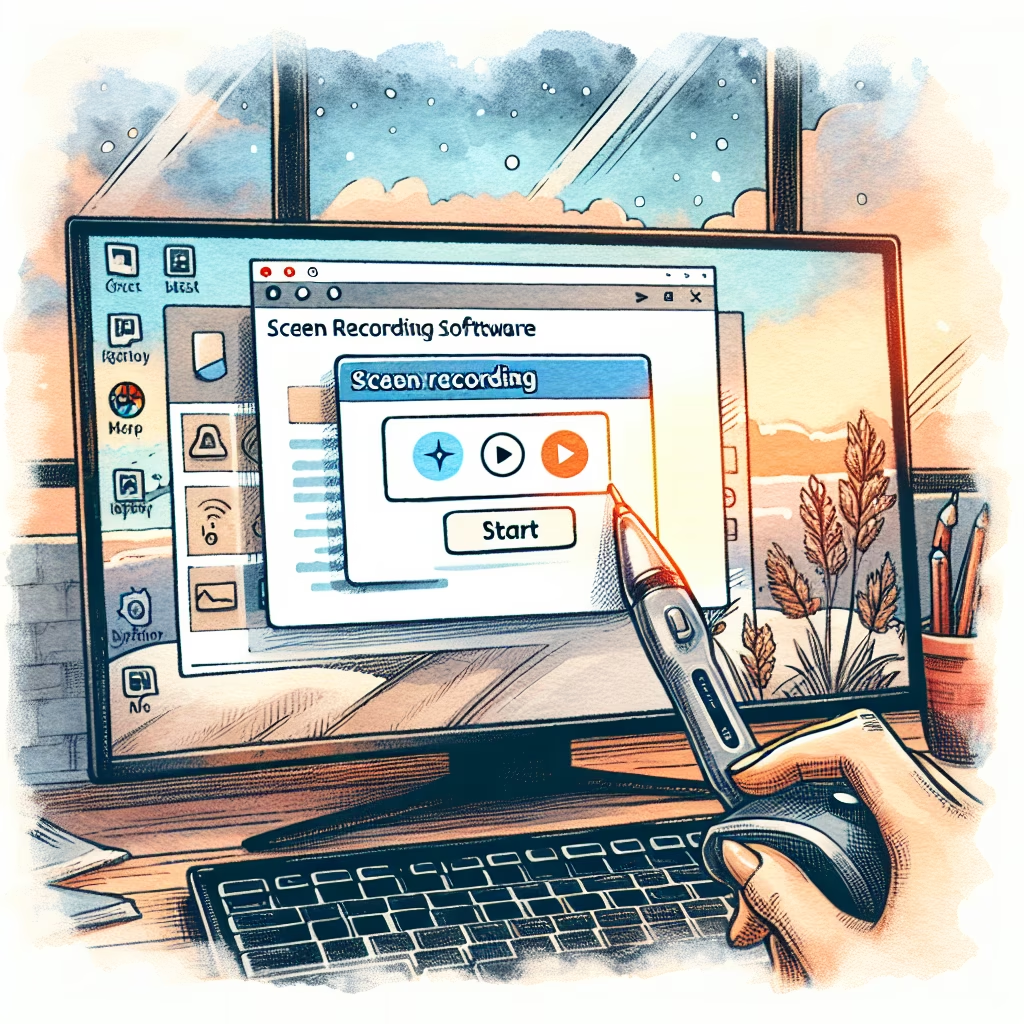
Screen recording on Windows can be done using built-in tools or third-party software. Here, we'll cover the steps to record your screen using the built-in Xbox Game Bar and a popular third-party tool, OBS Studio.
The Xbox Game Bar is a built-in tool in Windows 10 and later versions that allows you to record your screen without needing to install any additional software.
Open Xbox Game Bar
Win + G on your keyboard to open the Xbox Game Bar.Access the Capture Widget
Start Recording
Win + Alt + R to start recording your screen.Stop Recording
Win + Alt + R again.Locate Your Recording
Videos folder under Captures by default.OBS Studio is a free and open-source software for video recording and live streaming. It offers more advanced features compared to the Xbox Game Bar.
Download and Install OBS Studio
Open OBS Studio
Set Up a New Scene
+ button to add a new scene. Name the scene as needed.Add a Display Capture Source
+ button and select "Display Capture".Start Recording
Stop Recording
Locate Your Recording
Videos folder by default.Whether you use the built-in Xbox Game Bar for quick recordings or OBS Studio for more advanced options, Windows provides several ways to capture your screen effectively. Follow the steps above to start recording your screen today.
You can also watch this video tutorial for a visual guide:
Learn how to set up an eco-friendly workspace at home in 2024 with practical tips ...
A comprehensive guide on creating an eco-friendly home office setup in 2024, including tips on ...
A comprehensive guide on how to train for a marathon in six months, covering goal ...
Learn how to implement a zero-waste lifestyle with minimal effort in 2024. This guide offers ...
This document outlines how small teams can develop an effective remote work strategy in 2024, ...
A comprehensive guide on designing a digital marketing funnel for e-commerce in 2024, covering essential ...


